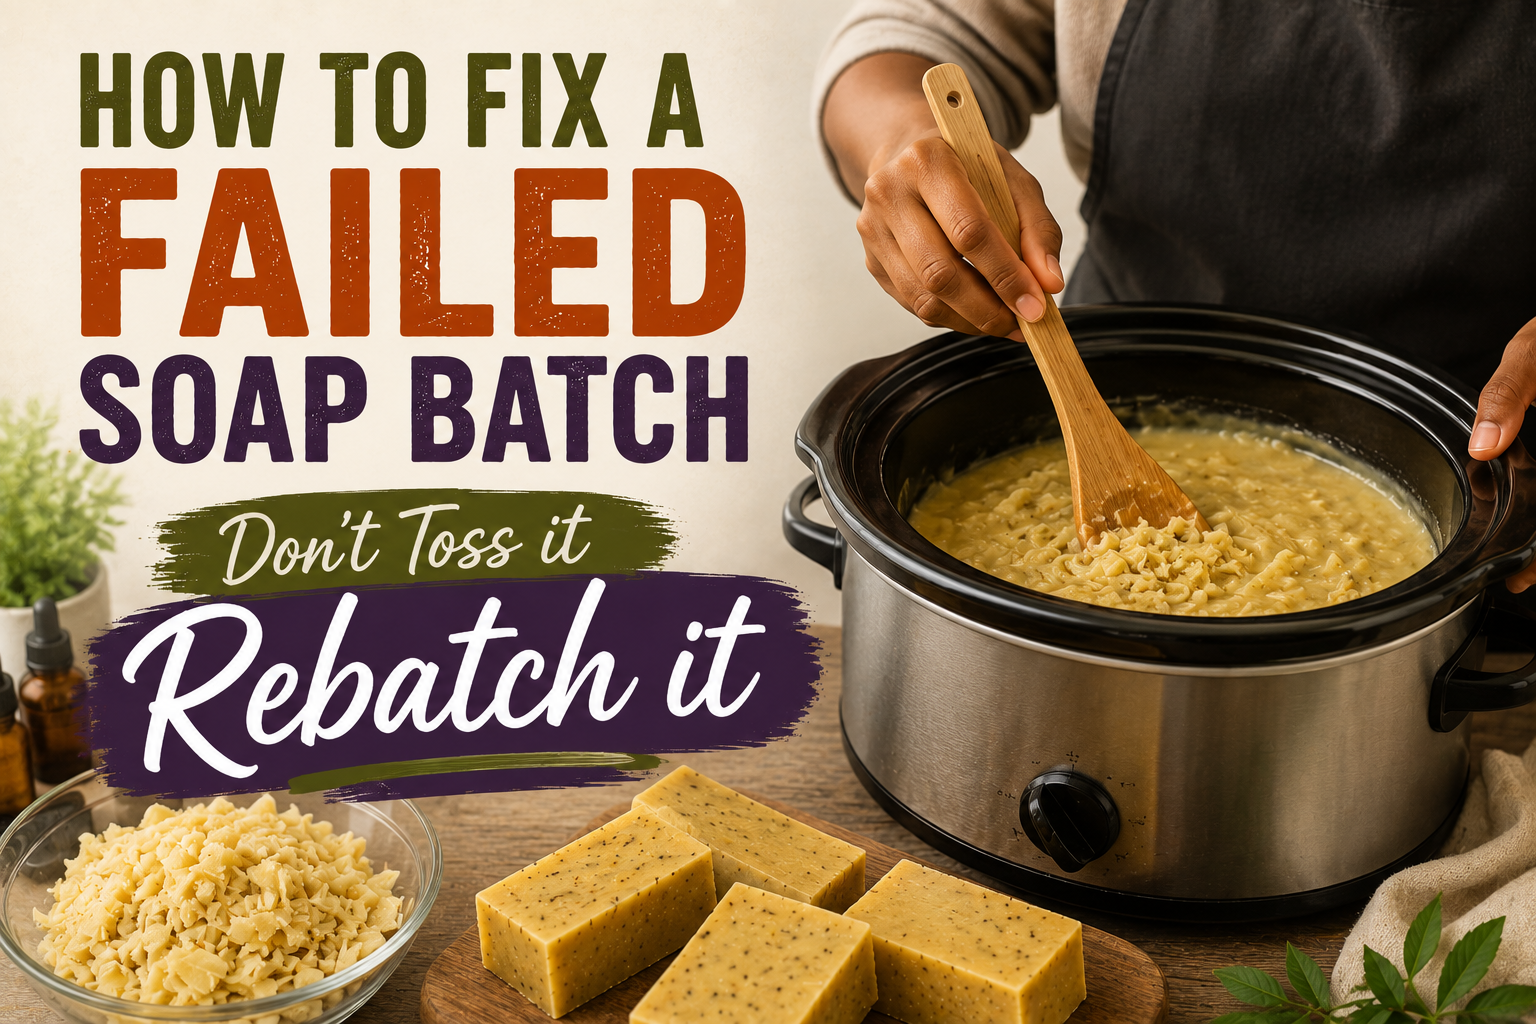
If you’ve ever wondered how to fix a failed soap batch, you’re not alone. Every soap maker eventually runs into a batch that seizes, separates, or just doesn’t look right. The good news? You don’t have to throw it away. With a few simple rebatching steps, you can save your ingredients, salvage your work, and still end up with beautiful, usable bars of soap.
When making soap you know things don’t always go as planned. It can feel like you’re cooking up a miracle or wrestling with a stubborn bread dough, depending on the day (or the temperature, or how many ingredients you try to add at once…).
Today, I’m taking you behind the scenes in my own soap studio to show you how to fix a failed batch using rebatching and some friendly troubleshooting any beginner (or exhausted maker) can use.
Why Hot Process Deserves a Place in Every Maker’s Toolkit
I’ve always loved the creative rhythm of cold process soap, but sometimes a batch just refuses to cooperate. This is when I can lean into my Hot Process technique to rebatch. In my most recent session, I thought I’d multitask my way to greatness, tossing in turmeric, ginger root, oatmeal, honey, and every dry ingredient within reach.
Add to that a very strong lye solution (a 50/50 blend!), and the moment I poured in my lye, my batter seized up like concrete.
Was the batch ruined? Not a chance.
When you know how to make hot process soap, especially rebatching, you unlock a second chance for every “uh-oh” batch—saving time, money, and your sanity.

Masterbatching vs. Rebatching: What’s the Difference?
Before I go any further, let’s break down two soapmaking techniques I use all the time:
Masterbatching: This is about prepping large quantities of oils, butters, and even lye solutions ahead of time. It’s the soapmaker’s equivalent of meal prepping for the week. When I’ve already measured everything, I can crank out big batches (up to 100 bars at a time!) without stopping between loaves.
Rebatching (especially with hot process soap): When a soap doesn’t come out sellable—maybe the texture’s off or the ingredients didn’t blend right—I don’t toss it. Instead, I grate or shred the bars and gently cook them in a crock pot or roaster with extra oils, liquids, or butters if needed. The soap melts down, and I remold it. This transforms a flop into a perfectly usable, sometimes even better, bar.
“If you do make a product and you kind of mess up, you don’t have to waste your ingredients. You can save money, you can save time by rebatching.”
Your Step-by-Step Hot Process Soap Rebatching Workflow
Let me walk you through my process with steps you can follow.
Step 1. Assess If Your Failed Soap Batch Can Be Saved
The first question is: Is the soap safe?
My turmeric and ginger root soap “misbehaved,” but it saponified properly. So, it’s safe—just ugly and uneven. If your batch seized or over-thickened but still fully saponified, rebatching is likely a great solution.
Step 2: Prepare Your Failed Soap Batch
You need your failed batch in small pieces. I’ve used everything from kitchen knives to a cheap “solid shooter” (think cheese grater on steroids). The smaller your pieces, the easier and faster they re-melt.
Step 3: Add Liquids and Oils for Rebatching
Place your soap shreds in a crock pot or roasting pan. I add a mix of:
Shea butter, olive oil, or another conditioning oil
Coconut milk (for creaminess)
Sometimes a splash of distilled water. The golden ratio? I usually work in thirds—roughly a third each of coconut milk, oil, and water, depending on what your batch needs. (Always know your original weight—adjust as needed.)
Step 4: Cook and Melt the Soap
Cook the soap over low to medium heat. Stir occasionally and let the soap fully melt together into a thick, unified batter.
Hot process is more forgiving here—you don’t need to baby it the same way as cold process. It feels a lot like making instant mashed potatoes: throw it all in, stir, and trust the process to come together.
Step 5: Customize and Mold Your Rebatched Soap
When everything’s melted and glossy, turn off the heat and add your fragrance. I love a blend of grapefruit essential oil (for a bright top note), cedarwood (for earthiness), and tea tree (for that clean, antimicrobial profile).
Spoon your hot soap batter into prepared molds. Let it cool and harden—usually overnight is enough. Then, cut into bars.

Troubleshooting Common Rebatching Issues
Q: Do I need to add more lye when rebatching hot process soap?
Nope! As long as your original batch saponified (turned into soap without leftover lye or oil pockets), you don’t need to add any more. You’re just melting and reshaping, not creating new reactions.
Q: What if the soap doesn’t melt evenly?
Smaller shreds help, as does patience. If the batch stays stubborn and chunky, add a splash more liquid (coconut milk or distilled water usually does the trick) and keep stirring.
Q: Does hot process soap smell like the original oils?
Once saponification is complete, most base oil scents are gone—unless you’re using shea or cocoa butter, which can linger. The scent that shines through is whatever essential or fragrance oil you add while the batter’s still warm.

Hot Process Soap vs. Cold Process Soap: Why Rebatching Shines
When you make cold process soap, mistakes usually mean you’re stuck with what you’ve got (or you wait it out and hope for the best). With hot process, you get a second shot.
In my own studio, I’ve saved countless “oops” batches through rebatching. It’s not just thrifty—it also lets you experiment with new scents, colors, and add-ins, turning a mess-up into a limited-edition gem.
The Transformative Power of Rebatching
Perfection is Overrated, Consistency is Everything! You can always make something beautiful, even from a batch that went sideways.
I wish I could promise every batch would look as pretty as Pinterest. The real magic of soapmaking, though, is figuring out how to work with what you’ve got.
When you know how to make hot process soap, you’ll never see a “ruined” batch as a total loss again. Your craft (and your business) get sturdier—and a little more joyful—with every save.
So next time a recipe goes rogue, don’t toss it. Give rebatching a try.
Manage your soap business in one place
Maker Studio AI connects your recipes, batches, inventory, shows, sales, and marketing — built for handmade product makers.
Explore Paid Plans →